FreeNX Configuration Instructions
Step 1 - Launch the NX Connection Wizard and click Next.
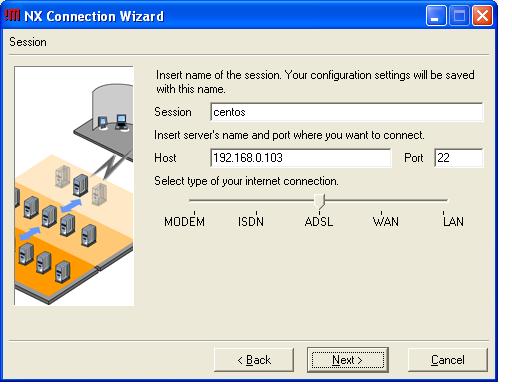
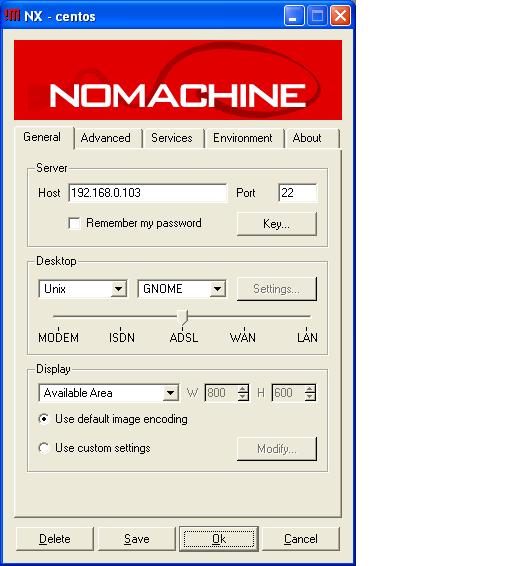
Step 2 - Enter the session, port and host parameters along with the type of internet connection and click Next.
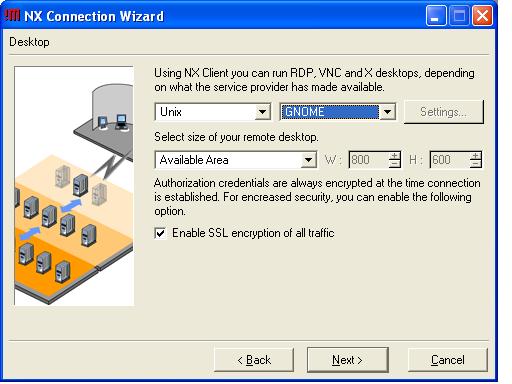
Step 3 - Make sure to select the GNOME desktop environment and check the box to Enable SSL encryption of all traffic and then click Next.
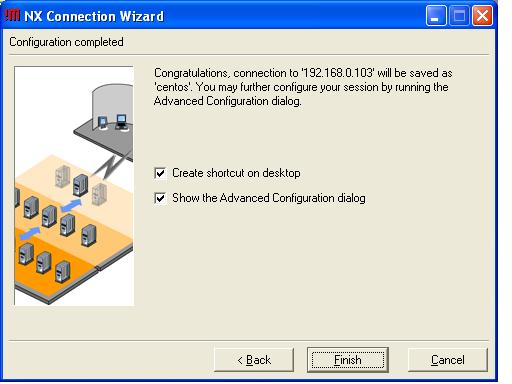
Step 4 - Check the Show the Advanced Configuration dialog box and then click Finish.
Step 5 - From the General tab, click the Key... button below Port in the Server box.
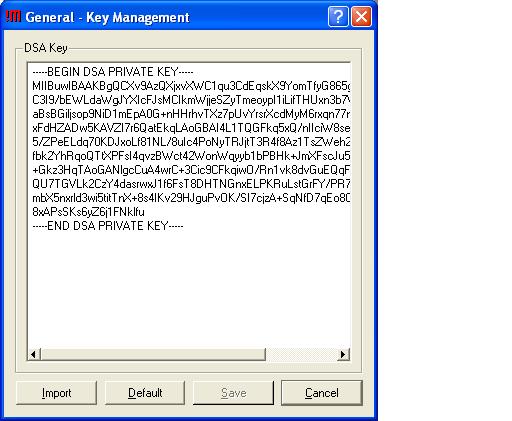
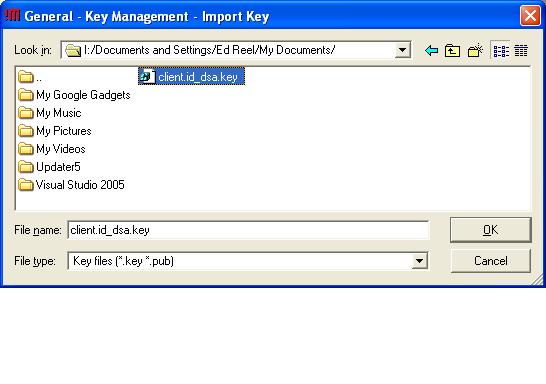
Step 6 - Click the Import button and navigate to the directory where you saved the client DSA private key.
Step 7 - Highlight the client DSA private key file and click OK.
Step 8 - Click Save at the General - Key Management dialog.
Step 9 - Click Save and then OK in the General tab of the main configuration dialog.

Step 10 - Enter the Login and Password credentials for the CentOS account and click OK.

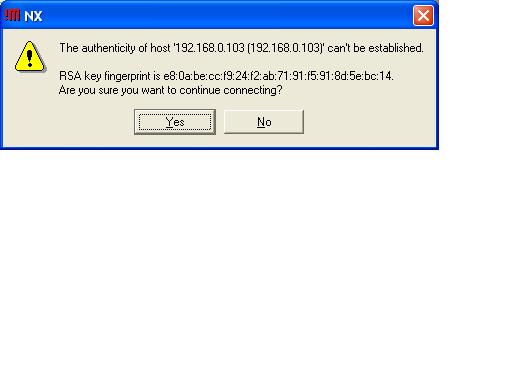
Step 11 - Click Yes at the RSA keyprint dialog.
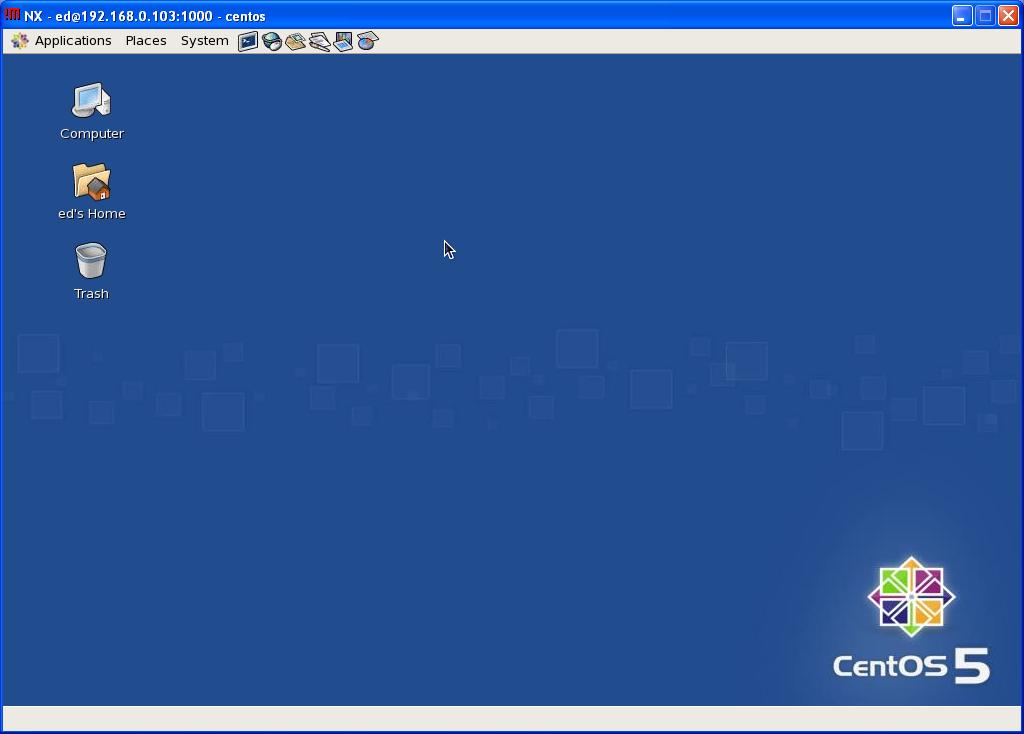
Step 12 - If everything was configured correctly, you should authenticate and successfully open a remote NX session.