FreeNX Client Setup Instructions Using WinSCP
Step 1 - Launch WinSCP and click New.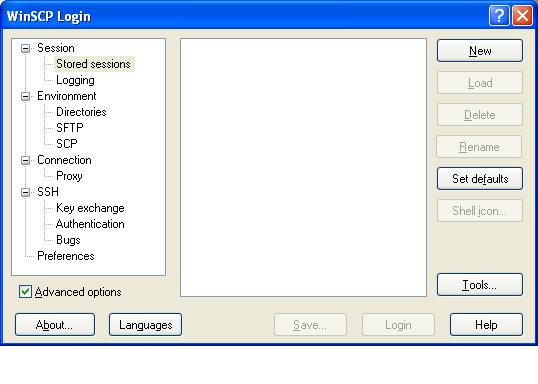
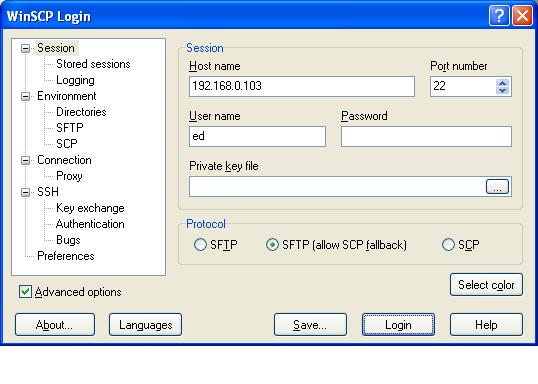
Step 2 - Enter the Host name, Port number and User name and click Save.
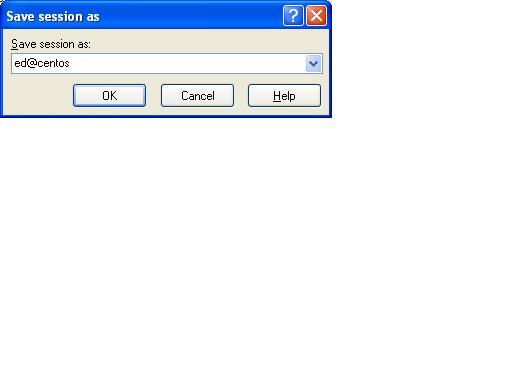
Step 3 - Enter a name for the session and click OK.
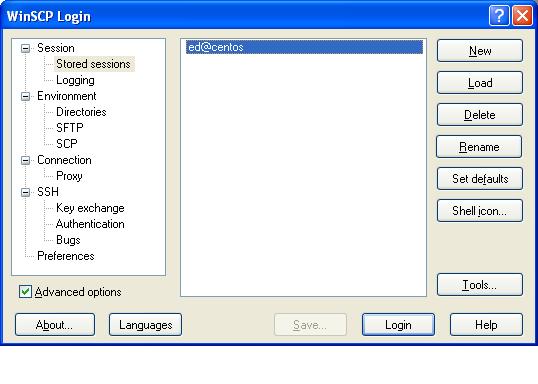
Step 4 - Highlight the new session and click Login.
Step 5 - Click Yes at the RSA2 key fingerprint dialog.

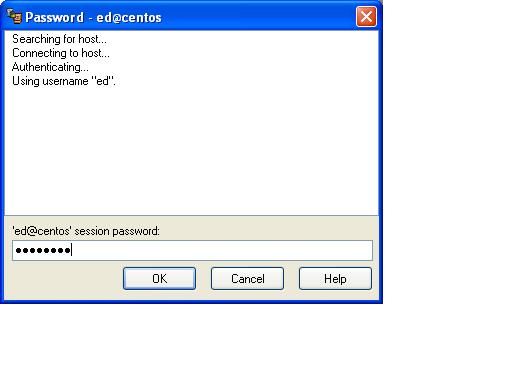
Step 6 - Enter the password and click OK.
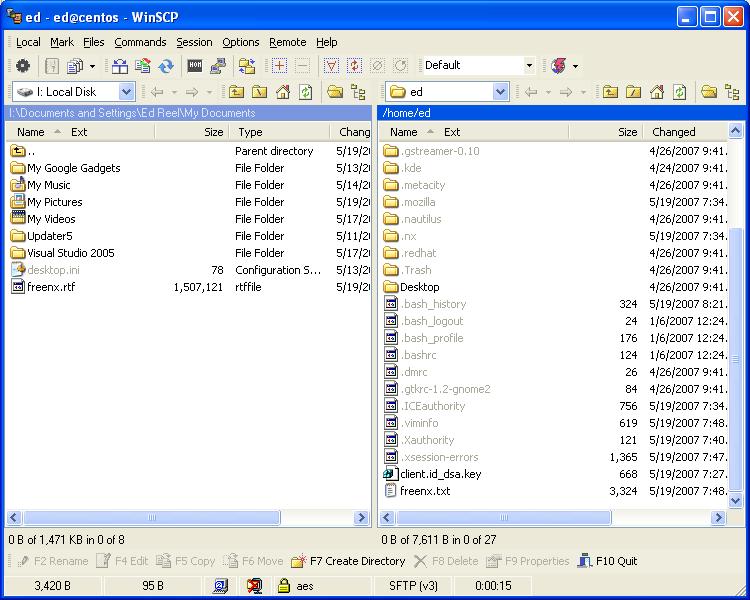
Step 7 - Scroll down and click the client.id_dsa.key file and drag to the left pane.
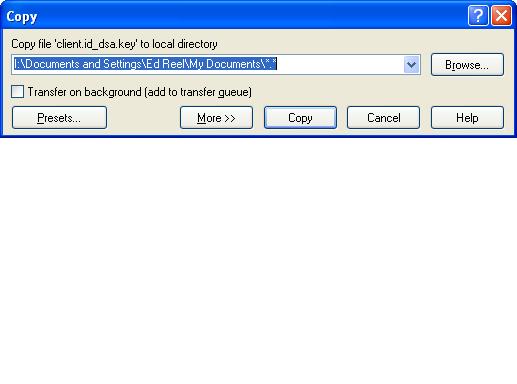
Step 8 - Click Copy at the Copy dialog.
Step 9 - Close WinSCP.